
 Talk to Us
 Chat with a Real Person
Only logged in customers who have purchased this product may leave a review.

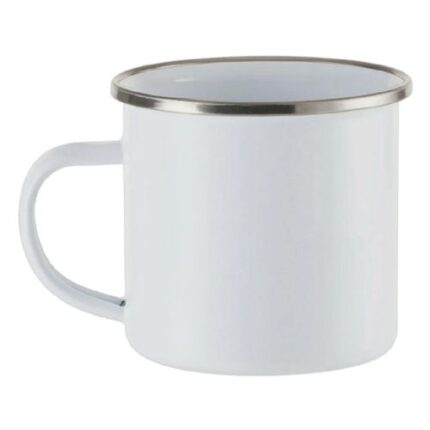
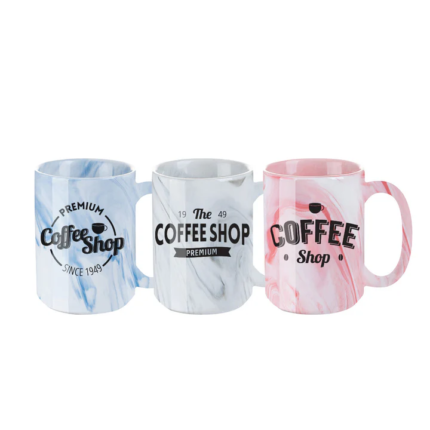
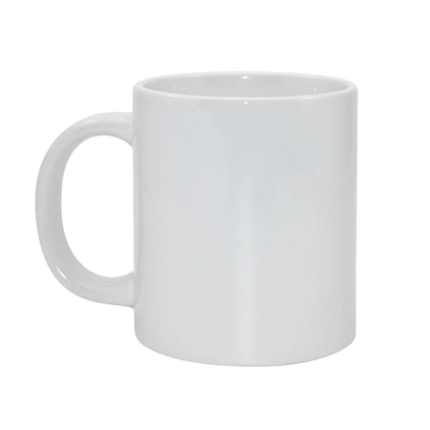
Mug 11 oz. Color Changing (Black to White)
$9.99
Sizing Info: 11 oz
Country Of Origin: China
Reviews (0)
Details
Mug 11 oz. Color Changing (Black to White)
- 11 oz Sublimation Coated Mug
- Color Changing from Black to White.
- Heat-activated ceramic mugs change when heated - just add hot liquid and the imprinted image is revealed!
- Imprintable area: 8 x 3.75.
- To image, we recommend using Mug Paper, sold separately.
- Hand wash only.
- FDA Compliant
- 36 in a case
- This mug may be imaged with a George Knight DK3 mug press.
- To image in an oven, use a dyewrap, sold separately, DYEWRAP05.
- This mug meets or exceeds FDA requirements for food and beverage safety
Instructions
Color Changing Mug Sublimation Instructions
Instruction Details
Instruction Details
Temperature: 385
Time: 4
Pressure: Medium
Prepress:
Additional: Heat Tape
Paper: TexPrint
Product ID: 3001
Instructions
1. Secure transfer to the Ceramic Mug using Heat Tape.
2. Top with protective paper, taking care not to extend the paper well above or below the top and bottom of the mug.
3. Place Ceramic Mug in Mug Press and close the heating element around the mug.
4. Press according 4 mins, 400 degrees, and medium pressure.
5. Remove any paper residue with a soft wet cloth or dish sponge.
Application notes: The typical imaging area for a mug is 1.25" in
FROM the handle AND .25" from the top and bottom sides of the mug.
Place heat tape on the transfer edges closest to the handle that does not have sublimation ink on it after you have aligned the image on the mug. Use heat tape to attach the transfer to the mug taking care not to cover any of the imaging area.
Use a fan to cool ceramic mugs or the A6000 Kool Plate. Do not dunk mugs in water.
Oven Method Instructions
Instructions for Using an Oven and DYEWRAP
1. Secure transfer to the Ceramic Mug using Heat Tape.
2. Wrap and secure DYEWRAP, over transfer, to the Ceramic Mug. Take care to ensure the transfer is not wrinkled under the wrap.
3. Place in 400° preheated oven for 15 minutes.
4. Remove mug from oven and immediately remove transfer and wrap and allow to cool under a fan.
Related products


Reviews
There are no reviews yet.